Running short on tiles halfway through a job is one of the most common and most avoidable problems in a renovation. The next delivery may not match the first's shade, and a two-day job can stretch into a fortnight while you wait for stock. Ordering far too many isn't ideal either, with leftover boxes sitting in the garage for years.
For anyone buying tiles, Adelaide homes come with their quirks. Older villas and 1960s brick homes often have walls that are slightly out of square, while newer open-plan builds tend to have long runs that flow into hallways and kitchens. This guide explains how to measure a room, how much wastage to allow and how to turn square metres into the number of boxes you actually order.
Multiply the length and width of your space in metres to find the square metres and the number of tiles you will need. From here, add 10% waste for tiles up to 600x600 mm and 20% for larger formats or more complicated layouts. Divide the final number by the coverage of a box in square metres, then round it up to the nearest whole box. Buy all the same batch to keep colours consistent and keep a few spares in the garage for touch-ups!
Measure every surface you plan to tile in metres, calculate the area of each section, and add them together. Take each measurement twice, once at floor level and again about a metre up, as walls in older homes are rarely parallel. Use the larger figure each time.
A simple rectangle is length times width, and so a 5.2 m by 4.1 m living room is 21.32 m². For L-shaped or irregular rooms, first divide the floor into simpler shapes.
Check with your tiler before subtracting the space under a kitchen island or vanity, as many prefer to tile underneath. It also helps to know your tile size early, and the floor tile range for living areas and hallways lists the available dimensions for each product.
Wall tiling is calculated in the same way by multiplying the width by the height you are going to tile. Measure each wall individually, as a shower wall may be floor-to-ceiling, but the vanity wall may only need to be splashback height.
Small openings, such as a bathroom window, usually aren't worth subtracting because the cuts around them create waste anyway. Doorways and sliding doors can be deducted. If you're still choosing a finish, the wall tile options for bathrooms and splashbacks show which sizes are available before you calculate.
Most projects are 10% to 20% larger than the measured area. The extra is for cuts at walls and corners, offcuts that can’t be used, and breakage during handling. Aurees Tiles recommends about 10% wastage for tiles up to 600x600 mm and about 20% for larger formats.
Layout matters too, because diagonal and herringbone patterns create cuts along every edge.
| Project Situation | Typical Allowance | Why It Needs Extra |
| Straight lay, tiles up to 600×600 mm | About 10% | Standard cuts along walls and doorways |
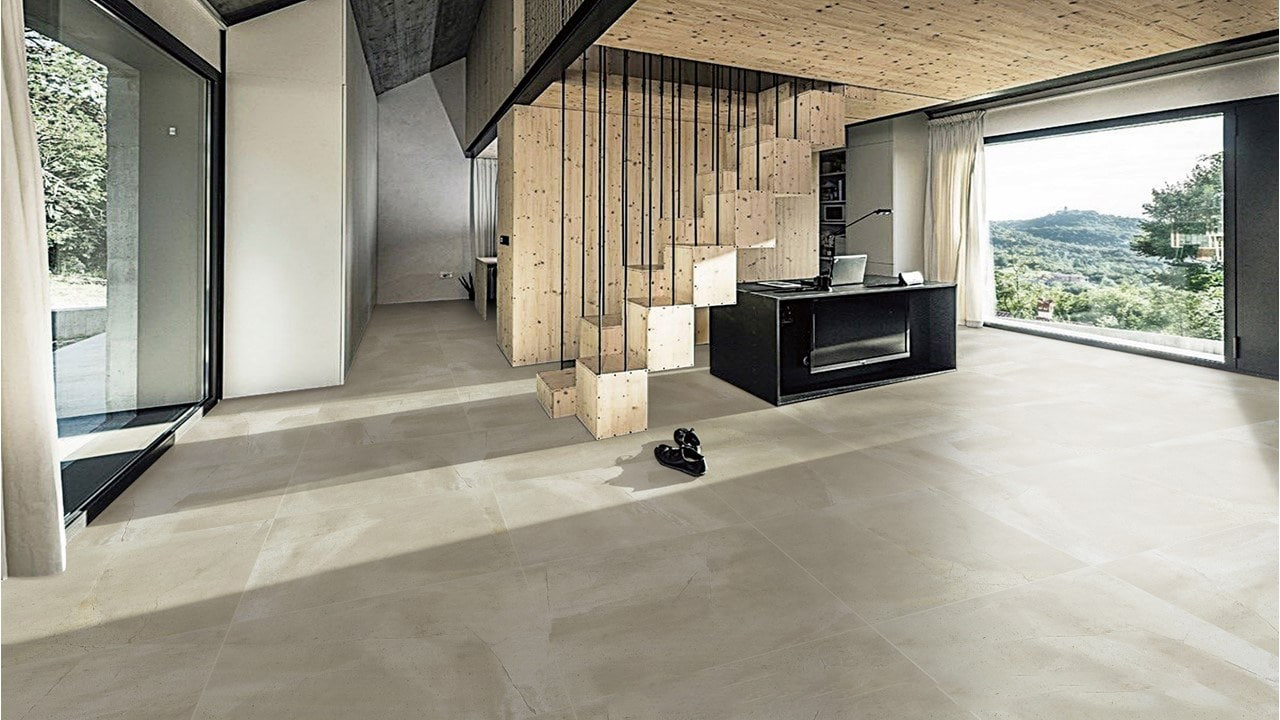
| Large format, such as 1200×600 mm | Up to 20% | Each cut removes more surface area, and offcuts are rarely reusable |
| Diagonal layout | About 15% | Angled cuts along every edge of the room |
| Herringbone or chevron | 15–20% | Many small cuts along the borders |
| Rooms with niches, columns or several corners | Add about 5% | Extra cuts around each obstruction |
These are starting points, and your tiler may adjust them after seeing the room. If you're considering a patterned floor, these herringbone and diagonal layout ideas show how each pattern changes a space before you commit to the extra tile.
Divide your total area, including wastage, by the coverage per box, then round up to the next whole box. Tiles are usually priced per square metre but supplied in full boxes, and the number per box changes with size and thickness. Always use the coverage figure on the box label or in the product specifications.
| Tile Size | Area per Tile | Approx. Tiles per m² |
| 75×300 mm (subway) | 0.0225 m² | 44.4 |
| 300×300 mm | 0.09 m² | 11.1 |
| 300×600 mm | 0.18 m² | 5.6 |
| 600×600 mm | 0.36 m² | 2.8 |
| 1200×600 mm | 0.72 m² | 1.4 |
These figures use nominal tile sizes and ignore grout joints, which make only a small difference.
Say you are tiling an open living area of 21.32 m² and a connecting hallway of 4.4 m² (1.1 m x 4 m), giving a total measured area of 25.72 m². Here is how the numbers break down for two popular tile sizes (assuming a box coverage of 1.44 m²):
Note: The larger tile format requires 2 additional boxes to cover the same floor space due to the higher 20% wastage allowance. Box coverage quantities may vary by brand; 1.44 m² is used here as an example.
Buying the full quantity in a single order is the most reliable way to ensure every tile matches. Tiles are produced in batches, and the colour can shift slightly between production runs. Check that every box carries the same batch or shade code before work starts.
Running short can also cause delays. Aurees Tiles notes that products sourced from interstate can take more than a week to arrive, and a matching batch is never guaranteed.
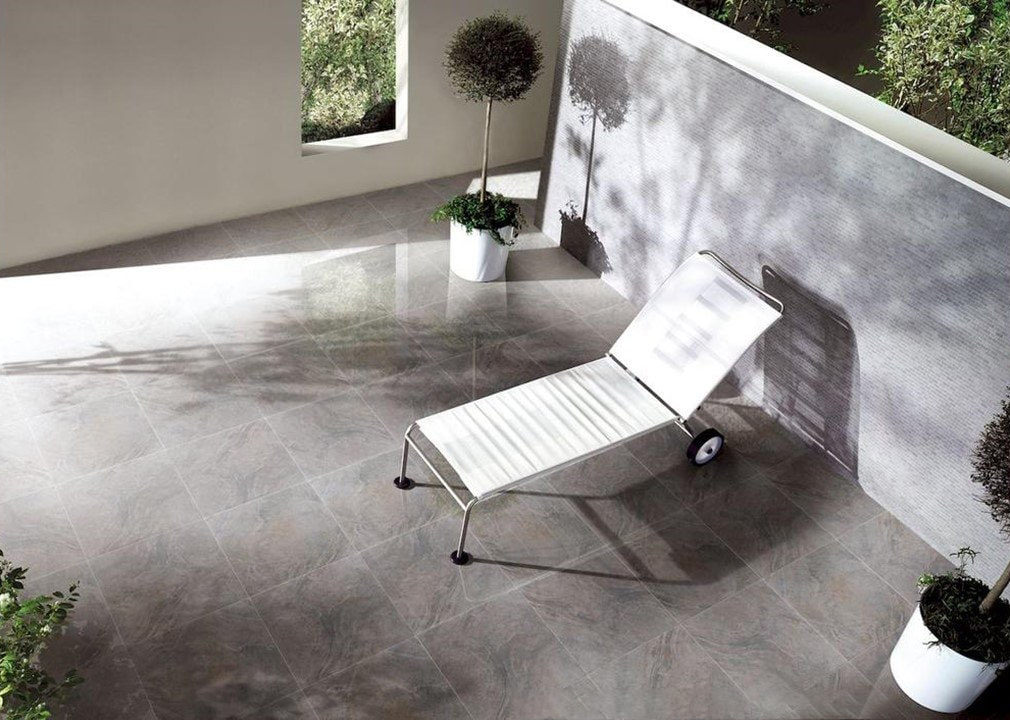
Once the job is finished, store a handful of spare tiles somewhere dry so a cracked tile can be replaced with an exact match. This matters most outdoors, where pots and furniture are dragged across the surface. If you're planning a patio, check the slip ratings of outdoor and alfresco tile options before finalising your order quantity.
Before you place an order, run through this quick checklist.
To work out how many tiles you need, follow these three steps: measure accurately, add a wastage allowance that suits the tile and layout, and round up to full boxes. Buying everything in one batch helps protect you from colour mismatches.
If you'd like a second opinion before buying, you can speak with the tile team in Cavan to check your quantities against the tile and layout you have in mind.
Most projects need 10–20% extra. Allow about 10% for straight-laid tiles up to 600×600 mm and up to 20% for large-format tiles or patterned layouts.
It depends on the tile size and thickness. A box might hold four 600×600 mm tiles or two 1200×600 mm tiles, so please refer to the m² coverage on the label.
Subtract large openings such as doorways. Small windows are generally retained in the calculation because the cuts around them create additional waste.
Divide the room into rectangles, calculate each one, then add them together. Apply your wastage allowance to the combined total.
It is better to have too many than too few. A mismatched batch or a delay in receiving stock may result in a runout.
Yes, you should keep a few. Spares reduce the visibility of any future repairs that may be necessary because tiles from a later batch might not match.