Go into any Adelaide home five or 10 years after the tiles were laid, and you will usually hear one of two stories. In the first, the floor and walls still look as new as the day they were put down. The second is that the tiles themselves are fine, but the grout tells another story. Dull, patchy, grey in the shower recess, no matter how hard anyone scrubs.
The difference rarely comes down to the tile's quality. The difference is maintenance. Grout is porous, different tile types handle moisture and wear in different ways, and Adelaide's dry heat, hard water, and dust all play a part. This guide covers what actually keeps tiles Adelaide homeowners install looking new, from daily habits through to knowing when a problem needs more than a scrub brush.
Clean grout and tiles regularly with a pH-neutral cleaner to keep them looking like new, reseal cement-based grout every 12-18 months and remove mould or stains as soon as they appear. First, sweep or vacuum before mopping to avoid scratches and dry wet areas to minimise moisture build-up. If the grout is crumbling or the tiles are cracked or loose, you'll want to get the job done professionally.
Most tiles, especially glazed ceramic and porcelain, have a tough, sealed surface that is stain-resistant on its own. Grout is a whole different thing. Typical cementitious grout is porous, meaning it absorbs water, oils, soap film, and everyday dirt rather than shedding them. Over time, this effect appears as discolouration along the grout lines, long before the tiles themselves show any wear.
Water in Adelaide is on the harder side, which means that mineral deposits can build up in grout lines and around tapware more quickly than in areas with softer water. With our hot, dry summers, grout can look chalky or stained, even in homes where tiles are cleaned regularly. But that doesn’t mean that the tiles were a bad choice. It just means grout has its own maintenance schedule, separate from general tile cleaning.
Grit is the number one cause of surface scratching on tiled floors, not heavy furniture or dropped pans. Sand and dust act like sandpaper on the finish of both polished and matte tiles when you walk on them.
Most homeowners skip sealing altogether or wait years to do it. A sealer is in the pores of the grout (or the stone) and offers water, oil and dirt a place to sit, rather than soak straight in. Without it, even the most rigorous daily cleaning only slows the staining; it doesn’t stop it.
| Grout or Tile Type | Typical Resealing Interval | Sign It Needs Attention |
| Cement-based grout | Every 12–18 months | Water no longer beads on the surface |
| Epoxy grout | Rarely, if ever | Non-porous by design; check for physical wear only |
| Natural or stone-look tiles | Every 12–24 months | Darker marks appear where liquid sits, or stains soak in faster |
| Glazed porcelain or ceramic | Not required | N/A – the glaze itself is the sealed surface |
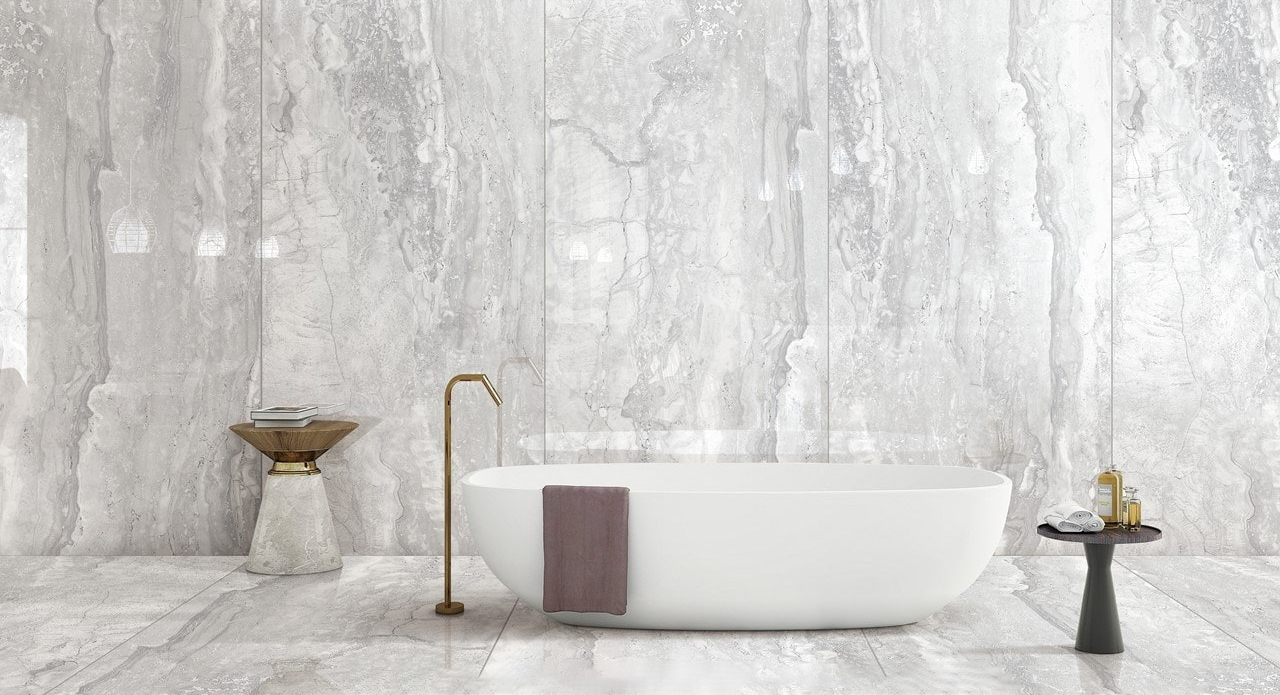
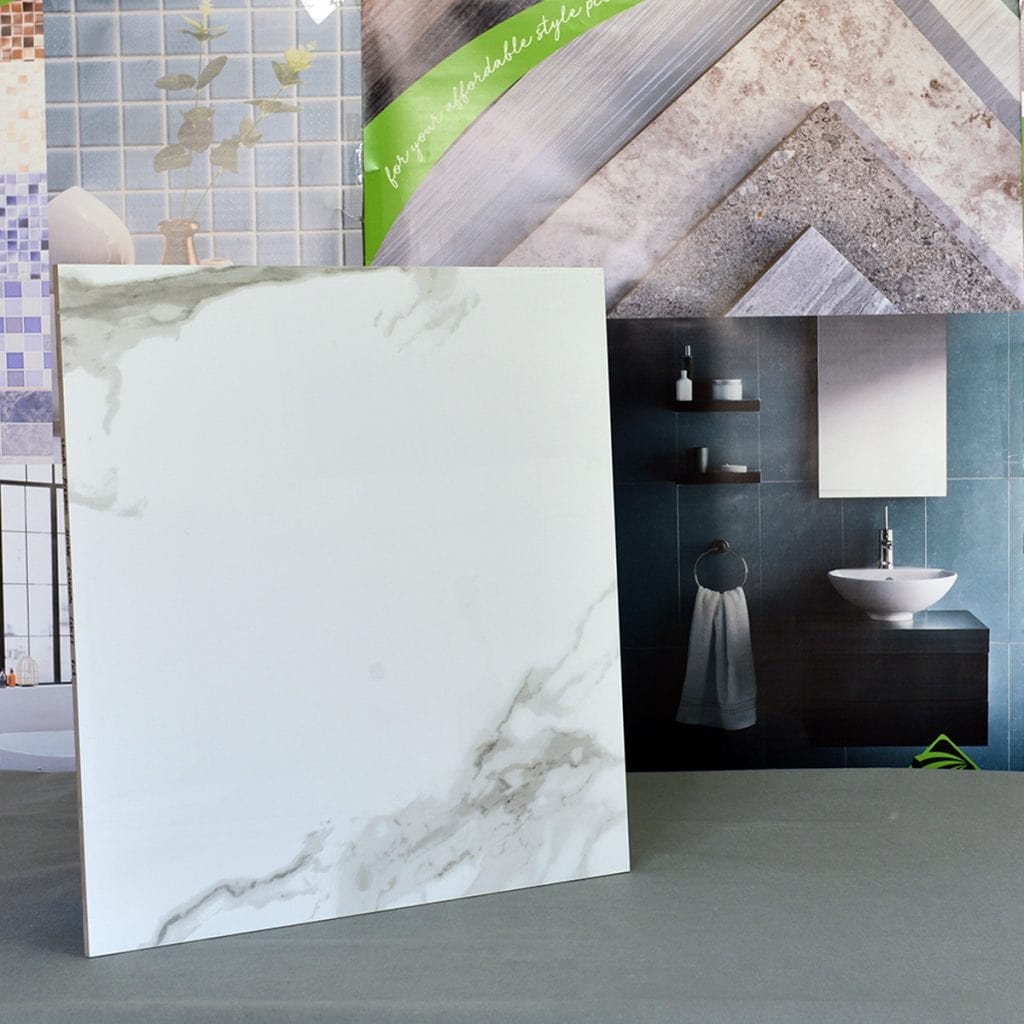
A quick way to test whether grout or a porous tile needs resealing is the water-drop test: splash a small amount of water onto the surface. If it soaks in within a minute or two rather than sitting as a bead, it's time to reseal. This applies to both grout lines and to genuinely porous tiles. It's worth checking before choosing a finish from our marble-look tile collection, since some stone-look surfaces are more porous than others, depending on the material and finish.
Bathrooms and laundries combine two things that mould loves: moisture and warmth. Poor ventilation is usually the root cause, more so than any failure in the tiling itself.
Not all tiles ask the same amount of you, and knowing which category yours falls into makes a big difference to how much time maintenance actually takes.
| Tile Type | Maintenance Level | Best Cleaning Approach |
| Glazed porcelain | Low | Regular sweep and pH-neutral mop; virtually stain-proof surface |
| Glazed ceramic | Low to moderate | Same as porcelain; slightly more prone to chipping on edges |
| Natural stone (marble, travertine, limestone) | Moderate to high | Use a pH-neutral cleaner only, regular resealing, avoid acidic products entirely |
| Textured or matte finishes | Moderate | Use a softer-bristle scrub brush for grip texture; rinse thoroughly to avoid residue build-up |
Finish also affects day-to-day cleaning, not just looks. We've covered this topic in more detail in our comparison of matte and gloss performance in real bathrooms, but as a general rule, textured and matte finishes hide water spots better. In contrast, gloss finishes streak more easily and require a more careful wipe-down after cleaning.
There’s a lot of maintenance that’s very DIY-friendly. However, some problems are a sign that something is going on underneath the surface, and just cleaning them up won’t solve them.
If you're planning a renovation rather than a repair, it's worth thinking about maintenance at the selection stage rather than after installation, an idea we explored in our piece on starting a bathroom renovation with tile choice, since the tile you choose up front shapes how much upkeep you'll be doing for years afterwards.
Cement-based grout should be resealed every 12 to 18 months, but if you have high-moisture areas, such as showers, reseal it closer to the 12-month mark. Epoxy grout is inherently non-porous, so it does not require sealing.
It's best avoided. Vinegar is acidic and can gradually break down cement-based grout and etch the surface of natural stone and some glazed finishes. A pH-neutral tile and grout cleaner does the job without the long-term damage.
Recurring mould usually points to a ventilation issue or a failed silicone sealant, rather than a cleaning issue. If the exhaust fan isn't clearing moisture effectively, or sealant around a shower base has failed, water keeps finding its way back into the grout, regardless of how well it's cleaned.
Yes, mostly. Glazed porcelain is less porous than natural stone and therefore requires regular sealing and mild, pH-neutral cleaning products. Porcelain is covered with a stain-resistant glaze, which makes it easier to care for and a popular choice for busy households.
A stiff outdoor broom effectively removes leaves and dust, followed by a hose down and an occasional scrub with a pH-neutral outdoor tile cleaner, coping well with most Adelaide conditions. Outdoor tiles that are textured and slip-resistant will need more attention to the grooves to avoid dirt build-up.
Lighter grout shows staining sooner, simply because discolouration is more visible against a pale background. Darker grout is better at hiding everyday grime, but it still needs the same sealing schedule under the surface.
Small sections, such as a single strip along a benchtop, are a reasonable DIY project for someone comfortable with basic tools. Larger areas, structural cracking, or grout that's failing alongside loose tiles are better handled by a professional, since the underlying cause needs to be assessed before regrouting will actually solve the problem.
Keeping grout and tiles looking as good as new isn’t difficult, but it does take a little routine – the right cleaning products, a sealing schedule suited to the type of grout and tile you have, and prompt attention to mould or staining before it sets in. Most of it is a few minutes a week, not hours. “Any issue that goes beyond the surface level, such as crumbling grout or hollow-sounding tiles, warrants a professional opinion more than more DIY fixes that aren’t getting to the root of the problem,” Badalamenti says.
If you're weighing up tile options for an upcoming project and want to factor long-term maintenance into the decision, the team at our Cavan showroom is happy to talk through what suits your household and how different finishes hold up over time.